How to work with color and symbols in Sketch - Quick UI Tutorial

With a very simple UI example, this tutorial will cover the basics on how to change copy, background colours and styles in Sketch with the use of symbols.
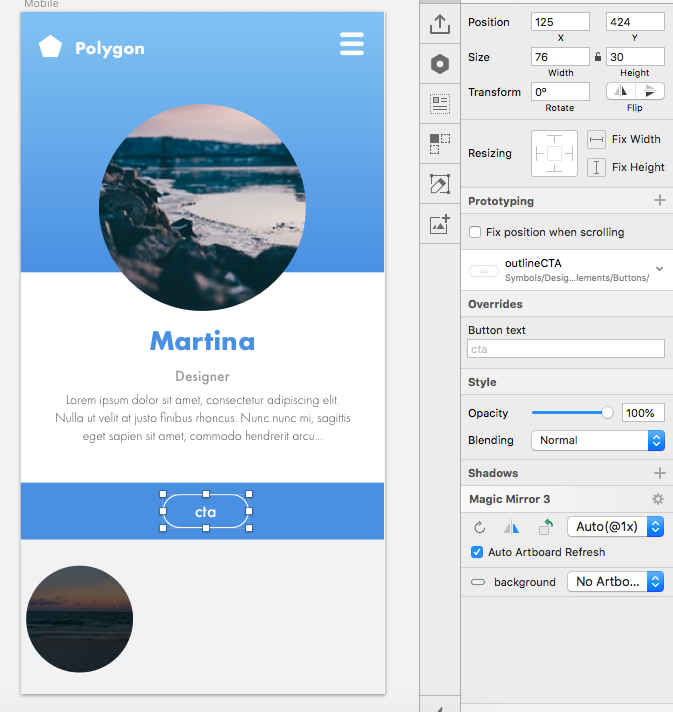
Below you can find the step by step instructions on how to change the cta button styles and the header background styles.
1.2 Create an editable button. Copy.
Create a symbol for the button.
The symbol includes a rectangle for the background and a text area for the copy grouped together.


Name the symbol DesignElements/Buttons/outlineCTA.
Remeber that the "/" creates folders in the symbol library
Close the symbol to view the Overrides area appear on the right panel and to be able to edit the text layers.
The same structure and layers names that we use in the symbol panels will reflect on the page panels (see below)
Edit the symbol Overrides and adjust its size
By the panel on the right in the Overrides section you are now able to change the content of the text are of the symbol to anything else. You will notice that if the copy is too long you will need to readjust the size of the button. Simply drag the button's outline to its new desired size


1.2 Create an editable button. Backround.
In the symbols page transform the background of the button to a symble inside a symbol
This will create a new symbol with just a rectangle inside it. Rename the layers to something that makes more sense to the content as shown below.

On the main page we now have a new Override functionality where we can switch between the two backgrounds: the outline and the latest grey background.
You can create as many colour backgrounds in the same way. Everytime you resize the button the background will adapt to the new size too.
